Isometric Drawings - Mechanical Isometric Drawings Services
Isometric Drawing Services – Piping, Mechanical and Plumbing
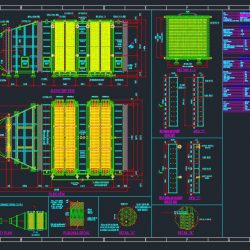
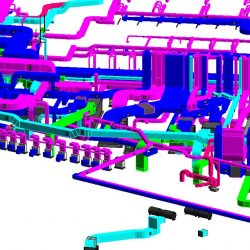
Welcome to Global Detailing Consultant independent specialists offering high quality isomeric drawing services and samples to contractors, engineering, draftsman, detailers, architects, erectors and builders from U.S.A., Australia, Canada, UK, U.A.E and around the world. The purpose of an isometric drawing is to show a three-dimensional picture in one drawing. It resembles a picture without the artistic details. Many Utilities men have difficulty in visualizing a piping installation clearly when they are working from a floor plan to an elevation drawing and back again. The isometric drawing combines the floor plan and the elevation. It clearly shows the details and the relationship of the pipes in a piping installation. Have you been searching for a well-established company that specializes in mechanical isomeric drawings? Then you are at the right place Contact us or Email: info@global-detailing.com to outsource you isometric drawings requirement, our professional engineers assist you within 1 business day.
Global Detailing Consultant Isometric drawings should show this:
- Title of the pipe line
- Channel pipe, which is the number, size, classification, direction
- Flow and to repair
- Dimensions or the size of each material
- Coordinates, orientation, ELEVATION, each piping path and equipment
- Reference images a connection or a connection piping path
- Size gasket or gasket
- Symbols, specifications, codes, standards must be clear
- Engineering division has been set previously
- If there is a change in the form of work or limit the work must be clearly indicated.
- Coordinates, orientation, ELEVATION and type of pipe support
- Slope to a vertical direction with the “V” and horizontal with code “H”
- Signs of curvature and curvature broken
- Number of the spool at a desired image isometric
The isometric drawing follows certain rules or conventions to show three dimensions on a flat surface
- Vertical lines in an orthographic elevation remain vertical in an isometric sketch
- Horizontal lines in an orthographic elevation are projected at an angle of 30 degrees and 60 degrees in an isometric drawing
Global Detailing Consultant has successfully completed hundreds of mechanical projects ranging from residence, complex, commercial center and buildings. Contact us or send email at info@global-detailing.com to outsourcing your isometric drawings projects and get benefits of reduces your overheads, increases your profit and helps you gain jobs over competitors, whilst at the same time peace of mind that all work is being done to the highest quality and confidentiality.


